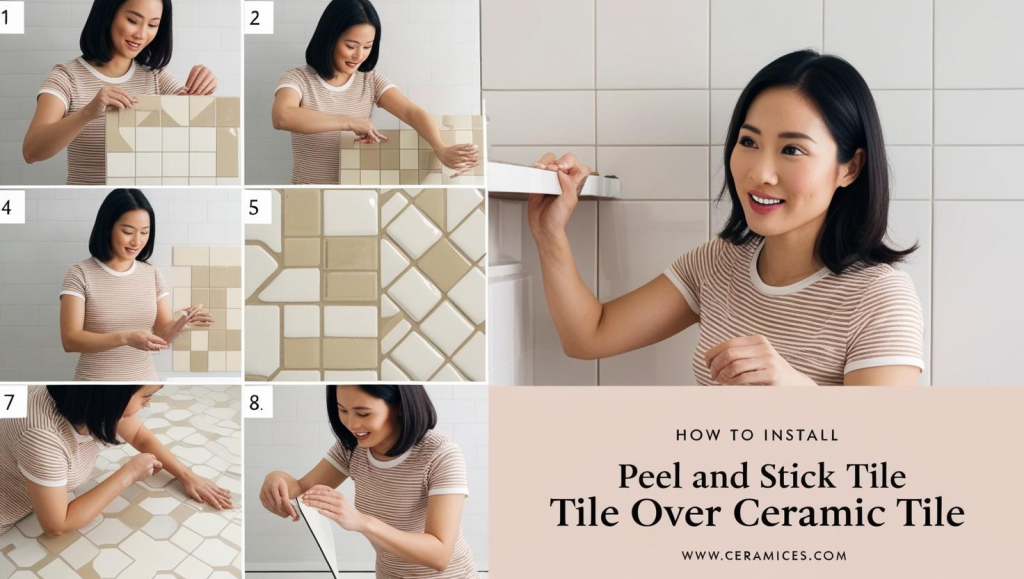
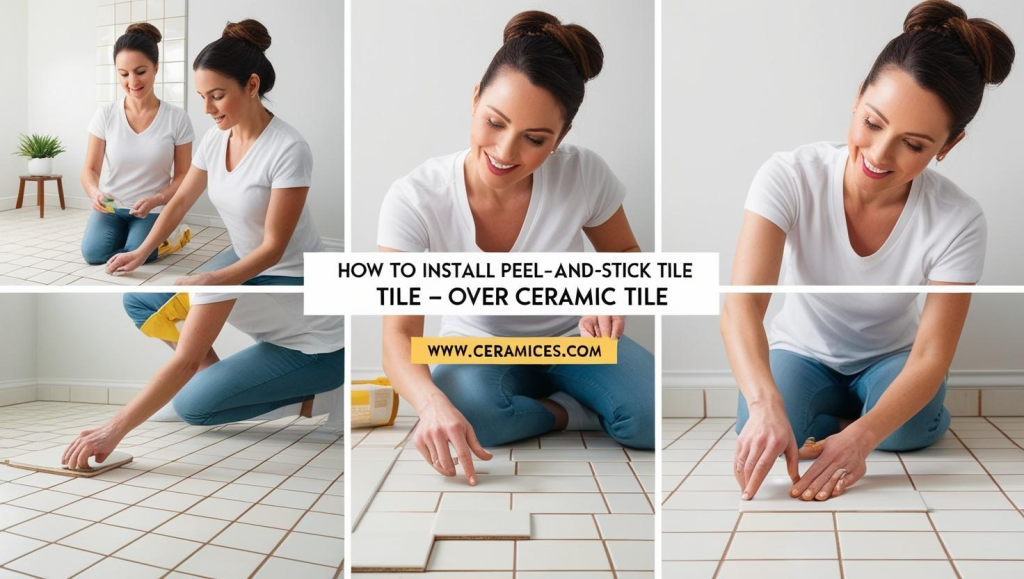
Peel and stick tiles have become a popular choice for homeowners looking to update their floors, backsplashes, or walls without the hassle of traditional tile installation. One of the most common questions is, “How to install peel and stick tile over ceramic tile?” This guide will walk you through the process step-by-step, provide tips for achieving a professional finish, and answer frequently asked questions. By the end of this article, you’ll have all the knowledge you need to transform your space with peel and stick tiles.
Why Install Peel and Stick Tile Over Ceramic Tile?
Ceramic tiles are durable and long-lasting, but their appearance can become outdated over time. Replacing ceramic tiles can be expensive and labor-intensive, making peel and stick tiles an attractive alternative. Peel and stick tiles are easy to install, cost-effective, and come in a wide variety of designs, allowing you to refresh your space without the need for demolition or professional help.
How to Install Peel and Stick Tile Over Ceramic Tile: Step-by-Step Guide

1. Gather Your Supplies
Before starting, ensure you have the following tools and materials:
- Peel and stick tiles
- Measuring tape
- Utility knife or tile cutter
- Straightedge or ruler
- Chalk or marker
- Cleaning supplies (mild detergent, sponge, and water)
- Primer (optional, for better adhesion)
- Level
- Grout (optional, for a more traditional look)
2. Prepare the Surface
Proper preparation is key to ensuring the peel and stick tiles adhere properly and last for years to come.
Clean the Ceramic Tiles
- Thoroughly clean the ceramic tiles with a mild detergent and water to remove dirt, grease, and soap scum.
- Rinse with clean water and allow the surface to dry completely.
Sand the Tiles (Optional)
- Lightly sand the ceramic tiles with fine-grit sandpaper to create a rough surface for better adhesion.
- Wipe away any dust with a damp cloth and let the surface dry.
Apply Primer (Optional)
- If the ceramic tiles are glossy or non-porous, apply a primer designed for tile surfaces. This helps the peel and stick tiles adhere better.
- Allow the primer to dry according to the manufacturer’s instructions.
3. Plan the Layout
- Measure the area where you plan to install the peel and stick tiles.
- Use chalk or a marker to mark the center of the space. This will serve as your starting point.
- Dry-fit the tiles to ensure they align properly and make any necessary adjustments.
4. Install the Peel and Stick Tiles
- Peel off the backing of the first tile and align it with your starting point.
- Press the tile firmly onto the ceramic surface, starting from the center and working your way out to the edges to remove air bubbles.
- Use a level to ensure the tile is straight.
- Continue installing the tiles, working outward from the center. Use a utility knife or tile cutter to trim tiles as needed to fit around edges, corners, or obstacles.
5. Apply Grout (Optional)
- If you want a more traditional tile look, apply grout between the peel and stick tiles.
- Use a grout float to spread the grout evenly, then wipe away excess with a damp sponge.
- Allow the grout to dry according to the manufacturer’s instructions.
6. Seal the Edges
- Apply a bead of caulk or sealant along the edges of the tiles to prevent moisture from seeping underneath.
- Smooth the caulk with your finger or a caulk tool for a clean finish.
Tips for Installing Peel and Stick Tile Over Ceramic Tile

- Work in Small Sections: Install a few tiles at a time to ensure proper alignment and adhesion.
- Use a Level: Regularly check that the tiles are level to avoid crooked lines.
- Avoid Air Bubbles: Press firmly from the center outward to remove air bubbles and ensure a smooth finish.
- Trim Carefully: Use a sharp utility knife or tile cutter for precise cuts around edges and corners.
- Follow Manufacturer Instructions: Always refer to the manufacturer’s guidelines for specific installation tips and drying times.
Common Mistakes to Avoid When Installing Peel and Stick Tile
- Skipping Surface Preparation: Failing to clean or sand the ceramic tiles can result in poor adhesion.
- Rushing the Process: Taking your time ensures a professional-looking finish.
- Ignoring Layout Planning: Dry-fitting tiles helps avoid mistakes and ensures a balanced design.
- Using Dull Tools: Dull blades can tear the tiles and create uneven edges.
How to Install Peel and Stick Tile Over Ceramic Tile Naturally
If you prefer eco-friendly methods, choose peel and stick tiles made from sustainable materials and use non-toxic cleaning products and primers. This reduces environmental impact and creates a healthier living space.
FAQs About Installing Peel and Stick Tile Over Ceramic Tile
1. Can I install peel and stick tile directly over ceramic tile?
Yes, as long as the ceramic tiles are clean, dry, and in good condition. Lightly sanding or priming the surface can improve adhesion.
2. Do I need to remove old grout before installing peel and stick tiles?
No, but ensure the grout lines are clean and level with the tiles. You can fill deep grout lines with a leveling compound if needed.
3. How long do peel and stick tiles last?
With proper installation and care, peel and stick tiles can last 5-10 years or more.
4. Can I use peel and stick tiles in wet areas like bathrooms?
Yes, but choose waterproof tiles and seal the edges to prevent moisture from seeping underneath.
5. What should I do if a peel and stick tile starts to lift?
Press it back down firmly. If the adhesive is no longer effective, use a strong adhesive or double-sided tape to reattach it.
6. Can I install peel and stick tiles over cracked ceramic tiles?
It’s best to repair or replace cracked tiles before installation to ensure a smooth surface.
7. Do I need special tools to install peel and stick tiles?
No, basic tools like a utility knife, measuring tape, and level are sufficient.
8. Can I remove peel and stick tiles later?
Yes, but removal may damage the underlying surface. Use a heat gun or hairdryer to soften the adhesive for easier removal.
9. How do I clean peel and stick tiles?
Use a mild detergent and water. Avoid abrasive cleaners or scrubbing tools that can damage the surface.
10. Can I install peel and stick tiles over textured ceramic tiles?
It’s possible, but the texture may show through. Consider using a leveling compound to create a smooth surface.
Additional Tips for Working with Peel and Stick Tiles
1. Choose the Right Tiles
Select peel and stick tiles that suit your space and design preferences. Consider factors like color, pattern, and durability.
2. Store Properly
Keep unused tiles in a cool, dry place to prevent the adhesive from losing its effectiveness.
3. Test the Adhesive
Before installing, test a small area to ensure the tiles adhere properly to your ceramic surface.
4. Work in a Well-Ventilated Area
Ensure proper ventilation during installation to avoid inhaling fumes from adhesives or primers.
5. Follow a Pattern
Plan your tile layout to create a cohesive design. Staggering tiles or using a herringbone pattern can add visual interest.
The Benefits of Peel and Stick Tiles
1. Easy Installation
Peel and stick tiles are simple to install, making them ideal for DIY projects.
2. Cost-Effective
They are an affordable alternative to traditional tile installation.
3. Versatile Design Options
Available in a wide range of colors, patterns, and textures, peel and stick tiles allow for endless design possibilities.
4. Temporary Solution
They can be easily removed or replaced, making them perfect for renters or those who like to update their space frequently.
Conclusion
Learning how to install peel and stick tile over ceramic tile is a game-changer for anyone looking to update their space without the hassle of traditional tile installation. By following the steps outlined in this guide, you can achieve a professional-looking finish that transforms your floors, backsplashes, or walls. Whether you’re a seasoned DIY enthusiast or a first-time home improver, peel and stick tiles offer a simple, cost-effective, and versatile solution.
So, the next time you’re considering a home update, remember the tips and techniques shared in this guide. With a little preparation and creativity, you can breathe new life into your space and enjoy the benefits of peel and stick tiles for years to come. Happy tiling!
This extended guide provides a deeper dive into the world of peel and stick tiles, offering additional tips, benefits, and insights to help you handle their installation with confidence. Whether you’re updating a kitchen backsplash, refreshing a bathroom floor, or adding a decorative accent wall, this comprehensive guide has everything you need to know about installing peel and stick tiles over ceramic tile.