Ceramic sinks are a classic choice for bathrooms and kitchens due to their durability and timeless appeal. However, over time, they can become stained, chipped, or outdated. If you’re wondering, “How to paint a ceramic sink?”, this guide will walk you through the process step-by-step, provide tips for achieving a professional finish, and answer frequently asked questions. By the end of this article, you’ll have all the knowledge you need to transform your ceramic sink and give your space a fresh, updated look.
Why Paint a Ceramic Sink?
Painting a ceramic sink is a cost-effective way to revitalize your bathroom or kitchen without the expense of replacing the entire fixture. It allows you to:
- Update the Look: Choose a new color or finish to match your decor.
- Repair Imperfections: Cover stains, chips, or scratches.
- Extend the Lifespan: Protect the sink from further damage.
- Save Money: Avoid the cost of purchasing and installing a new sink.
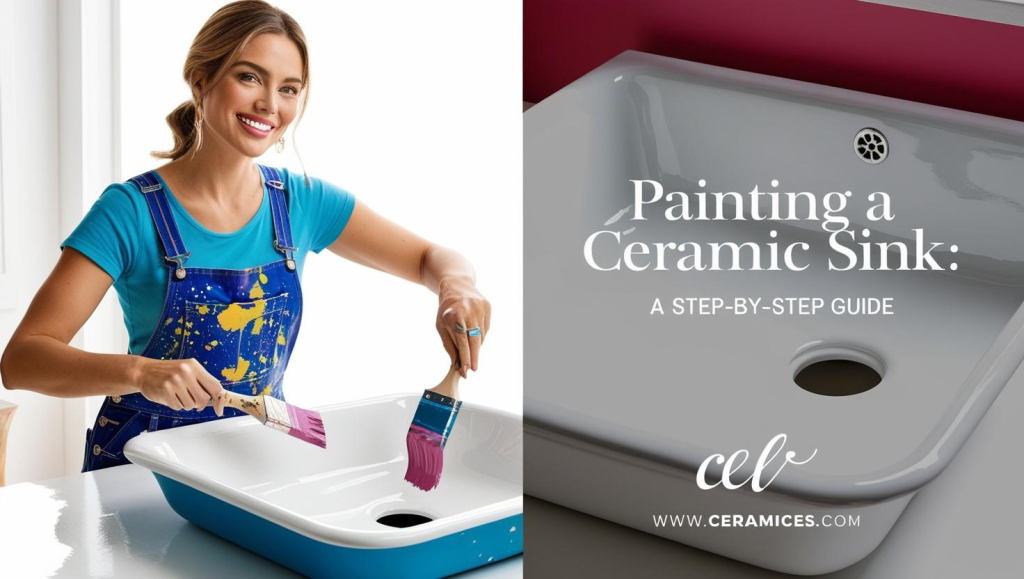
How to Paint a Ceramic Sink: Step-by-Step Guide
1. Gather Your Supplies
Before starting, ensure you have the following tools and materials:
- Ceramic paint or epoxy paint (specifically designed for sinks)
- Primer (optional, for better adhesion)
- Sandpaper (medium and fine grit)
- Cleaning supplies (mild detergent, sponge, and water)
- Paintbrushes or spray gun
- Painter’s tape
- Protective gear (gloves, goggles, and mask)
- Sealant (optional, for added durability)
2. Prepare the Sink
Proper preparation is key to ensuring the paint adheres properly and lasts for years.
Clean the Sink
- Thoroughly clean the sink with a mild detergent and water to remove dirt, grease, and soap scum.
- Rinse with clean water and allow the sink to dry completely.
Sand the Surface
- Lightly sand the sink with medium-grit sandpaper to create a rough surface for better adhesion.
- Switch to fine-grit sandpaper to smooth the surface.
- Wipe away any dust with a damp cloth and let the sink dry.
Apply Painter’s Tape
- Use painter’s tape to protect surrounding areas, such as countertops and faucets, from accidental paint splatters.
3. Apply Primer (Optional)
- If the sink is heavily stained or has a glossy finish, apply a primer designed for ceramic surfaces.
- Allow the primer to dry according to the manufacturer’s instructions.
4. Paint the Sink
- Stir the ceramic or epoxy paint thoroughly to ensure an even consistency.
- Apply the first coat of paint using a brush or spray gun. Work in thin, even layers to avoid drips and bubbles.
- Allow the first coat to dry completely before applying a second coat.
- Apply additional coats as needed, allowing each coat to dry fully.
5. Apply Sealant (Optional)
- Once the paint is dry, apply a clear sealant to protect the finish and enhance durability.
- Allow the sealant to dry according to the manufacturer’s instructions.
6. Remove Painter’s Tape
- Carefully remove the painter’s tape to reveal clean edges.
- Touch up any areas if necessary.
Tips for Painting a Ceramic Sink
- Choose the Right Paint: Use paint specifically designed for ceramic or porcelain surfaces.
- Work in a Well-Ventilated Area: Ensure proper ventilation to avoid inhaling fumes.
- Apply Thin Coats: Multiple thin coats are better than one thick coat for a smooth, even finish.
- Allow Adequate Drying Time: Follow the manufacturer’s instructions for drying times between coats.
- Protect the Surrounding Area: Use drop cloths or newspaper to protect floors and countertops.
Common Mistakes to Avoid When Painting a Ceramic Sink
- Skipping Surface Preparation: Failing to clean or sand the sink can result in poor adhesion.
- Using the Wrong Paint: Regular paint may not adhere properly or withstand moisture.
- Rushing the Process: Taking your time ensures a professional-looking finish.
- Ignoring Safety Precautions: Always wear protective gear and work in a well-ventilated area.
How to Paint a Ceramic Sink Naturally
If you prefer eco-friendly methods, choose non-toxic, low-VOC (volatile organic compounds) paints and sealants. These products are safer for the environment and your health while still providing excellent coverage and durability.
FAQs About Painting a Ceramic Sink
1. Can I paint a ceramic sink?
Yes, with the right materials and preparation, you can successfully paint a ceramic sink.
2. What type of paint should I use for a ceramic sink?
Use ceramic or epoxy paint specifically designed for sinks and bathtubs.
3. Do I need to sand the sink before painting?
Yes, sanding creates a rough surface for better paint adhesion.
4. How long does the paint take to dry?
Drying times vary by product, but typically, each coat takes 2-4 hours to dry.
5. Can I use a spray gun to paint the sink?
Yes, a spray gun can provide a smooth, even finish, but ensure proper ventilation.
6. How many coats of paint should I apply?
Apply 2-3 thin coats for the best results, allowing each coat to dry completely.
7. Do I need to apply a sealant?
A sealant is optional but recommended for added durability and protection.
8. How long will the painted finish last?
With proper preparation and care, a painted ceramic sink can last several years.
9. Can I paint a sink that has chips or cracks?
Yes, but repair any damage with a ceramic filler before painting.
10. How do I clean a painted ceramic sink?
Use a mild detergent and water. Avoid abrasive cleaners or scrubbing tools that can damage the finish.
Additional Tips for Maintaining a Painted Ceramic Sink
1. Avoid Harsh Cleaners
Use gentle, non-abrasive cleaners to preserve the painted finish.
2. Prevent Scratches
Avoid using sharp or abrasive objects in the sink to prevent scratches.
3. Reapply Sealant
Periodically reapply a clear sealant to maintain the sink’s durability and appearance.
4. Touch Up as Needed
Keep extra paint on hand for touch-ups in case of minor chips or scratches.
5. Monitor for Wear
Regularly inspect the sink for signs of wear and address any issues promptly.
The Benefits of Painting a Ceramic Sink
1. Cost-Effective
Painting is a budget-friendly alternative to replacing the entire sink.
2. Customizable
Choose any color or finish to match your decor and personal style.
3. Quick Transformation
A fresh coat of paint can instantly update the look of your bathroom or kitchen.
4. Eco-Friendly
Repainting extends the life of your sink, reducing waste and environmental impact.
Conclusion
Learning how to paint a ceramic sink is a practical and creative way to revitalize your bathroom or kitchen without the expense of a full renovation. By following the steps outlined in this guide, you can achieve a professional-looking finish that enhances the beauty and functionality of your space. Whether you’re updating an outdated sink or repairing minor imperfections, painting offers a cost-effective and customizable solution.
So, the next time you’re looking to refresh your space, remember the tips and techniques shared in this guide. With a little preparation and creativity, you can enjoy the benefits of a beautifully painted ceramic sink for years to come. Happy painting!
This extended guide provides a deeper dive into the world of painting ceramic sinks, offering additional tips, benefits, and insights to help you handle the process with confidence. Whether you’re a DIY enthusiast or a first-time painter, this comprehensive guide has everything you need to know about painting a ceramic sink.
Read more