Ceramic tiles are a popular choice for flooring, walls, and backsplashes due to their durability, versatility, and aesthetic appeal. However, one of the challenges that DIY enthusiasts and professionals alike face is how to bend ceramic tile to fit curved surfaces or unique designs. Bending ceramic tile may seem impossible at first glance, given its rigid and brittle nature, but with the right techniques and tools, it can be done. In this article, we’ll explore the methods for bending ceramic tile, the tools you’ll need, and tips for achieving the best results. Whether you’re working on a curved wall, a rounded countertop, or a creative mosaic project, this guide will help you master the art of bending ceramic tile.
Can Ceramic Tiles Be Bent?
Before diving into the process, it’s important to address the question: Can ceramic tiles be bent? The short answer is yes, but with limitations. Ceramic tiles are inherently rigid and brittle, which makes them difficult to bend without breaking. However, by using specialized techniques such as cutting, heating, or using flexible tile materials, you can achieve the desired curvature for your project. It’s also worth noting that some tiles, like thin porcelain or mosaic tiles, are more flexible and easier to work with than traditional ceramic tiles.
Tools and Materials Needed to Bend Ceramic Tile
To successfully bend ceramic tile, you’ll need the following tools and materials:
- Ceramic Tiles: Choose thinner tiles for better flexibility.
- Tile Cutter or Wet Saw: For cutting tiles into smaller, more manageable pieces.
- Heat Gun or Blowtorch: To soften the tile for bending.
- Tile Nippers: For shaping and trimming tiles.
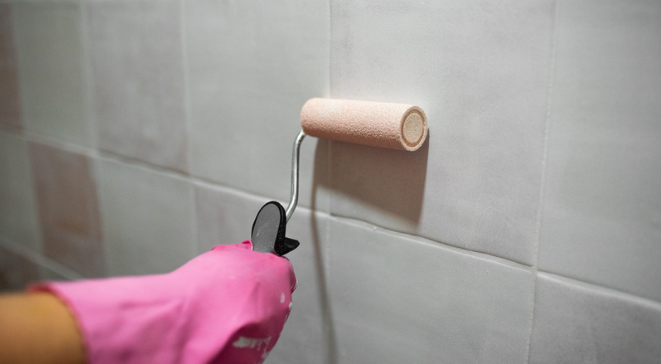
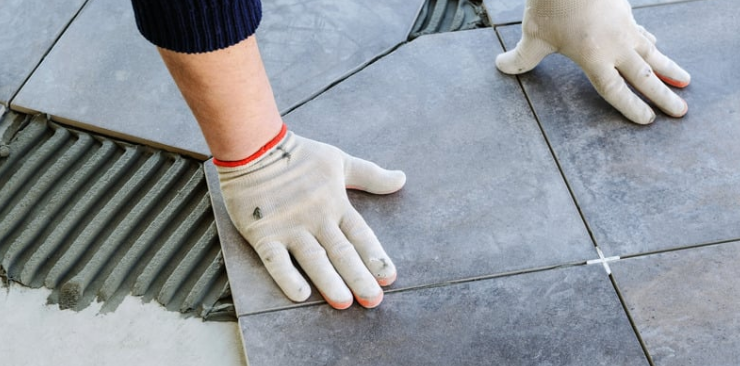
- Adhesive and Grout: To secure the tiles in place.
- Protective Gear: Safety glasses, gloves, and a mask to protect yourself from dust and heat.
- Spacers and Leveling Tools: To ensure even placement.
- Flexible Tile Membrane (Optional): For added flexibility in curved installations.
Methods for Bending Ceramic Tile
There are several methods you can use to bend ceramic tile, depending on the type of tile and the complexity of your project. Below are the most common techniques:
1. Cutting Tiles into Smaller Pieces
- One of the simplest ways to achieve a curved design is to cut the tiles into smaller pieces, such as mosaic tiles. These smaller pieces can be arranged in a curved pattern, allowing for greater flexibility and easier installation.
2. Using a Heat Gun or Blowtorch
- Applying heat to ceramic tiles can make them more pliable. Use a heat gun or blowtorch to gently warm the tile, then carefully bend it to the desired shape. Be cautious not to overheat the tile, as this can cause it to crack or break.
3. Scoring and Snapping
- For slight bends, you can score the back of the tile with a tile cutter and then gently snap it along the scored line. This method works best for small adjustments rather than dramatic curves.
4. Using a Flexible Tile Membrane
- A flexible tile membrane can be applied to the surface before installing the tiles. This membrane allows the tiles to conform to curved surfaces more easily and reduces the risk of cracking.
5. Choosing Thin or Flexible Tiles
- Opt for thinner ceramic tiles or tiles made from more flexible materials, such as porcelain or glass. These tiles are easier to bend and shape compared to traditional ceramic tiles.
Step-by-Step Guide to Bending Ceramic Tile
Here’s a detailed step-by-step guide to help you bend ceramic tile for your project:
Step 1: Plan Your Design
- Measure the area where the tiles will be installed and plan the layout. Determine the degree of curvature needed and decide which bending method will work best.
Step 2: Prepare the Tiles
- If using the cutting method, cut the tiles into smaller pieces using a tile cutter or wet saw. For heat bending, ensure the tiles are clean and free of debris.
Step 3: Apply Heat (If Using Heat Method)
- Use a heat gun or blowtorch to warm the tile evenly. Move the heat source back and forth to avoid overheating any one area. Once the tile is pliable, carefully bend it to the desired shape.
Step 4: Install the Tiles
- Apply adhesive to the surface and place the tiles according to your design. Use spacers to ensure even gaps between tiles. For curved surfaces, work in small sections to maintain the shape.
Step 5: Grout and Finish
- Once the adhesive has dried, apply grout between the tiles. Use a damp sponge to clean off excess grout and polish the tiles for a finished look.
Tips for Bending Ceramic Tile
- Start with a Test Tile: Practice on a spare tile before working on your actual project to avoid mistakes.
- Work Slowly and Carefully: Bending ceramic tile requires patience and precision. Rushing the process can lead to cracks or breaks.
- Use the Right Adhesive: Choose a high-quality adhesive designed for ceramic tiles to ensure a strong bond.
- Consider Professional Help: For complex projects or large areas, consult a professional tile installer to achieve the best results.
10 Long-Answer FAQs About Bending Ceramic Tile
1. Can all ceramic tiles be bent?
Not all ceramic tiles can be bent, as their rigidity and thickness play a significant role. Thinner tiles and those made from more flexible materials, like porcelain, are easier to bend than traditional ceramic tiles.
2. What is the best way to bend ceramic tile for a curved wall?
The best method for bending ceramic tile on a curved wall is to use smaller mosaic tiles or a flexible tile membrane. These options allow the tiles to conform to the curve without breaking.
3. Can I bend ceramic tile without cutting it?
Yes, you can bend ceramic tile without cutting it by using a heat gun or blowtorch to soften the tile. However, this method requires caution to avoid cracking the tile.
4. How do I prevent ceramic tiles from cracking when bending?
To prevent cracking, work slowly and evenly when applying heat or pressure. Using thinner tiles or a flexible membrane can also reduce the risk of cracks.
5. What type of adhesive should I use for bent ceramic tiles?
Use a high-quality, flexible adhesive designed for ceramic tiles. This type of adhesive can accommodate slight movements and help secure the tiles in place.
6. Can I bend ceramic tile for a countertop edge?
Yes, you can bend ceramic tile for a countertop edge using the heat method or by cutting the tiles into smaller pieces. A flexible membrane can also help achieve a smooth curve.
7. How do I cut ceramic tiles for bending?
Use a tile cutter or wet saw to cut ceramic tiles into smaller pieces. For curved cuts, a tile nipper or angle grinder with a diamond blade can be used.
8. Is it better to use porcelain tiles for bending?
Porcelain tiles are generally more flexible and easier to bend than traditional ceramic tiles, making them a better choice for curved surfaces.
9. Can I bend ceramic tile for a mosaic project?
Yes, ceramic tiles can be bent or cut into smaller pieces for mosaic projects. Mosaic tiles are ideal for creating curved designs and intricate patterns.
10. What safety precautions should I take when bending ceramic tile?
Wear safety glasses, gloves, and a mask to protect yourself from dust and heat. Work in a well-ventilated area and handle tools carefully to avoid injuries.
Conclusion
Bending ceramic tile may seem like a daunting task, but with the right techniques and tools, it’s entirely achievable. Whether you’re working on a curved wall, a rounded countertop, or a creative mosaic project, understanding how to bend ceramic tile can open up a world of design possibilities. By choosing the right method, practicing patience, and following safety precautions, you can create stunning, curved tile installations that enhance the beauty and functionality of your space.
So, the next time you’re faced with a challenging tile project, remember that bending ceramic tile is not only possible but also a rewarding way to bring your creative vision to life. With this guide, you’ll be well-equipped to tackle any curved tile installation with confidence and skill.