When it comes to ceramic art and pottery, the term underglaze is often mentioned, but what exactly does it mean? What is underglaze in ceramics? In this article, we’ll explore the definition, uses, and techniques of underglaze, as well as its role in the ceramic-making process. Whether you’re a seasoned potter or a beginner looking to expand your knowledge, this guide will provide you with everything you need to know about underglaze and how it can enhance your ceramic creations.
What is Underglaze in Ceramics?
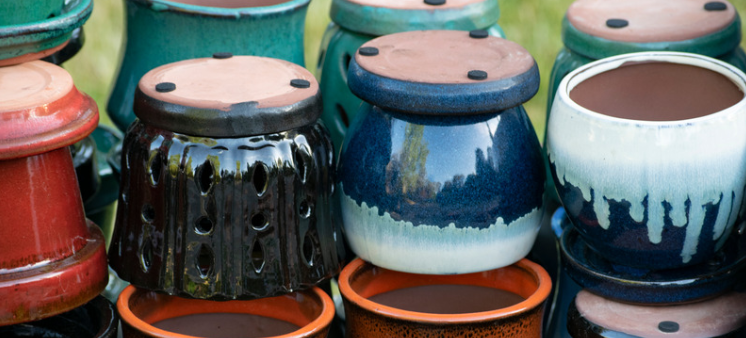
Underglaze is a type of ceramic decoration that is applied to pottery or ceramics before the final glaze is added. It is made from a mixture of pigments, clay, and a flux, which helps it adhere to the ceramic surface. Underglaze is typically used to add detailed designs, patterns, or colors to ceramics, and it can be applied to both greenware (unfired clay) and bisqueware (fired but unglazed clay). Once applied, the underglaze is covered with a clear or transparent glaze and fired in a kiln to create a durable, finished piece.
Key Features of Underglaze:
- Versatility: Can be used on greenware, bisqueware, and even leather-hard clay.
- Color Variety: Available in a wide range of colors, including vibrant and pastel shades.
- Detail-Oriented: Ideal for intricate designs and fine lines.
- Durability: Becomes permanent after firing, making it resistant to wear and tear.
The Role of Underglaze in Ceramics
Underglaze plays a crucial role in the ceramic-making process, offering both aesthetic and functional benefits. Here’s how underglaze enhances ceramic art:
- Color and Design: Underglaze allows artists to add detailed and vibrant designs to their ceramics, enhancing the visual appeal of the final piece.
- Layering and Depth: By applying multiple layers of underglaze, artists can create depth and texture in their designs.
- Surface Preparation: Underglaze can be used to prepare the surface of the ceramic for additional decoration or glazing.
- Durability: Once fired, underglaze becomes a permanent part of the ceramic, ensuring that the design remains intact over time.
Types of Underglaze
There are several types of underglaze available, each with its own unique properties and applications:
1. Liquid Underglaze:
- Comes in a liquid form and is applied with a brush, sponge, or spray.
- Ideal for detailed work and fine lines.
- Available in a wide range of colors.
2. Underglaze Pencils:
- Similar to colored pencils but designed for use on ceramics.
- Perfect for sketching and adding fine details.
- Can be blended and layered for a painterly effect.
3. Underglaze Crayons:
- Similar to crayons but formulated for ceramic surfaces.
- Easy to use and great for adding bold, vibrant colors.
- Can be blended and layered for a textured look.
4. Underglaze Transfers:
- Pre-printed designs that can be transferred onto the ceramic surface.
- Ideal for adding intricate patterns and images without freehand drawing.
- Available in a variety of designs and colors.
How to Apply Underglaze
Applying underglaze requires careful preparation and attention to detail. Here’s a step-by-step guide to help you get started:
Step 1: Prepare the Ceramic Surface
- Ensure the ceramic piece is clean and free of dust or debris.
- If working with greenware, make sure it is leather-hard or bone-dry. For bisqueware, ensure it is clean and dry.
Step 2: Choose Your Underglaze
- Select the type of underglaze that best suits your project (liquid, pencil, crayon, or transfer).
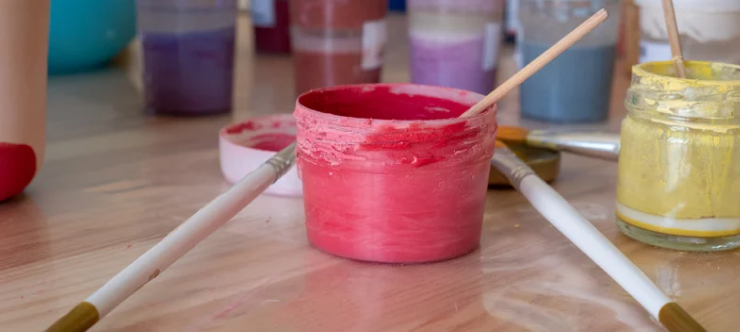
Step 3: Apply the Underglaze
- Use a brush, sponge, or other applicator to apply the underglaze to the ceramic surface.
- For detailed work, use underglaze pencils or crayons to add fine lines and intricate designs.
Step 4: Layer and Blend
- Apply multiple layers of underglaze to create depth and texture.
- Blend colors using a brush, sponge, or your fingers for a smooth transition between shades.
Step 5: Allow to Dry
- Let the underglaze dry completely before applying the final glaze.
Step 6: Apply the Final Glaze
- Cover the underglaze with a clear or transparent glaze to seal and protect the design.
- Ensure the glaze is applied evenly to avoid bubbles or uneven coverage.
Step 7: Fire the Ceramic
- Fire the ceramic piece in a kiln according to the recommended temperature and firing schedule for the underglaze and glaze used.
Tips for Using Underglaze
- Test Colors: Always test underglaze colors on a sample piece before applying them to your final project.
- Layer Carefully: Apply thin, even layers of underglaze to avoid cracking or peeling during firing.
- Use a Light Hand: When using underglaze pencils or crayons, apply light pressure to avoid scratching the ceramic surface.
- Experiment with Techniques: Try different application techniques, such as sponging, stippling, or sgraffito, to create unique effects.
- Clean Tools: Keep brushes and applicators clean to avoid mixing colors unintentionally.
Common Challenges and Solutions
1. Underglaze Cracking or Peeling:
- Solution: Apply thin, even layers and allow each layer to dry completely before adding the next.
2. Colors Appearing Dull After Firing:
- Solution: Use a clear or transparent glaze to enhance the vibrancy of the underglaze colors.
3. Bleeding or Smudging:
- Solution: Allow the underglaze to dry completely before applying the final glaze or handling the piece.
4. Uneven Coverage:
- Solution: Apply underglaze in thin, even layers and use a brush or sponge for smooth application.
10 Long-Answer FAQs About Underglaze in Ceramics
1. What is the difference between underglaze and glaze?
Underglaze is applied before the final glaze and is used for adding color and design, while glaze is a protective coating that is applied over the underglaze and fired to create a finished surface.
2. Can underglaze be used on greenware?
Yes, underglaze can be applied to greenware, bisqueware, and even leather-hard clay.
3. Do I need to glaze over underglaze?
Yes, underglaze should be covered with a clear or transparent glaze to seal and protect the design.
4. Can underglaze be mixed?
Yes, underglaze colors can be mixed to create custom shades. Always test mixed colors on a sample piece before applying them to your final project.
5. How do I fix mistakes in underglaze?
Mistakes can be corrected by wiping away the underglaze with a damp sponge before it dries. Once dry, you may need to sand or scrape off the underglaze and reapply.
6. Can underglaze be used on porcelain?
Yes, underglaze can be used on porcelain, as well as other types of clay like stoneware and earthenware.
7. What is the firing temperature for underglaze?
The firing temperature for underglaze depends on the type of clay and glaze used. Typically, underglaze is fired at the same temperature as the final glaze, usually between 1,800°F and 2,300°F (982°C–1,260°C).
8. Can underglaze be used for food-safe ceramics?
Yes, underglaze can be used for food-safe ceramics as long as it is covered with a food-safe glaze.
9. How do I store underglaze?
Store underglaze in a cool, dry place with the lids tightly sealed to prevent drying out.
10. Can underglaze be used for outdoor ceramics?
Yes, underglaze can be used for outdoor ceramics, but it must be covered with a durable, weather-resistant glaze to protect it from the elements.
Conclusion
Underglaze is a versatile and essential tool in the world of ceramics, offering endless possibilities for creativity and expression. By understanding what underglaze in ceramics is and how to use it effectively, you can elevate your ceramic projects to new heights. Whether you’re adding intricate designs, vibrant colors, or subtle textures, underglaze allows you to bring your artistic vision to life.
So, the next time you’re working on a ceramic piece, consider incorporating underglaze to enhance its beauty and durability. With the right techniques and a bit of practice, you’ll be able to create stunning, one-of-a-kind ceramics that showcase your unique style and creativity.