Are you not sure how to glue ceramic or something ceramic that broke? Today, we’re going to show you how.
Is your ceramic mug, plate, figure, or any ceramic item has cracked or broken? Do you want to glue your ceramic goods, and you don’t know how? If so, read us to know how to glue ceramics. In this context, we’re going to show you how to glue any ceramic perfectly.
Even you can apply these tips on porcelain, stoneware, plastic, glass, and other similar materials. Gluing ceramic is not such a challenging job. If you read this content, you’ll perfect it. So let’s start our gluing tips step by step.
Hey there, and ceramices.com. Here was another ceramic blog. Today we’re going to have some fun with some basic gluing skills. Today, we will cover the most fundamental aspects of basic gluing in this informative how-to tutorial. Let’s get started. Check here, Best ceramic glue.
How to glue ceramic?
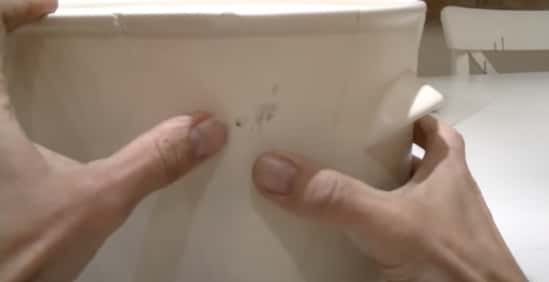
Today we’re going to do something a little more complicated. We’re going to glue. We’re going to glue a ceramic drawer that came out of a pottery barn. Thingamabob, this little knob here fell off or broke. I’ll teach you how to glue it. Read more, how to fix ceramic mug.
Picking up the right glue for it
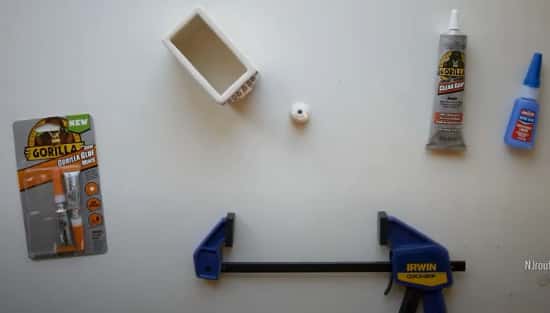
First, we’re going to talk about the glues real quick. You know, ceramic is very porous. Since this has a lot of pieces, this is very forgiving using almost any kind of glue. I think epoxy is the best glue because you mix two compounds, creating a chemical reaction that becomes very strong.
These other glues are not quite that way. But I hate using epoxy. So it’s a big mess. It isn’t effortless. I’m just not complicated, but it’s just a mess. All right. So you have various glues you can use. There’s this regular Loctite super glue, which I’ve had a lot of success with it. It works without water.
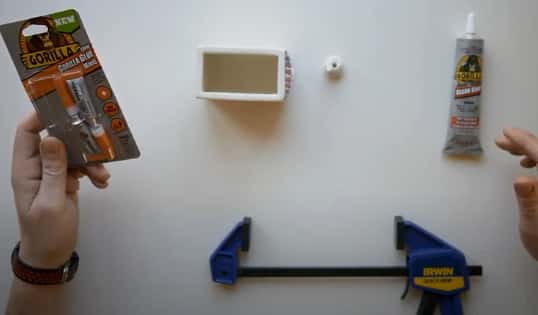
Then you have these Gorilla Glue minis. These are great. They also work. If you’re using a porous surface, you don’t need water. If you’re gluing like metal and other non-porous surfaces, you can add a little water, and that’ll aid in the curing process. Also, read how to glue ceramic Figurine.
But I’m not going to do that either. Today, we’re going to use something called gorilla. Clear grip, contact adhesive, this bonds also.
Start gluing ceramic
But in this case, they recommend you glue both surfaces and wait a couple of minutes for it, you know, start its reaction with the air, and then it’ll make a stronger bond. When you connect it or, you know, put them, put it back together. And another essential piece when gluing anything almost has a grip.
These are called Erwin quick grips, and I love these things. I have a lot of them, you can never have enough to keep them in all your work areas in your house, and you’ll never go running around for them. But what I like to do is I like to test the grip first to go through the motions here.
So when you’re using something round like this, it can be a little tricky, a little shaky. So I like to go through the motions first to make sure it’s in. If interested, Check KitchenAid ceramic bowl.
Apply glue on ceramic
Just go through a dry run with no how a dry run with no glue on and this cc. There you go. I’m kind of happy with the way that came and always used a more oversized grip. Then it would help if you had it because you’ll have more surface area on these little pads. So that seems to the dry run seems to work.
Apply The Glue on Both sides of Ceramic Pieces
So what I’m going to do now, real quick, is I’m going to put glue on both surfaces to get it ready to go, and I’ll smooth it out a little on each side. You might want to have a wet rag handy because there’ll be some overspill. I’m going to put some on this, this little piece here. Spread it out. It’ll spread itself out when you put the clamp on.
Let The Glue Sit for some minutes
So I’ll let that sit for a minute. You really should clean the tip-off before you screw the cap back on. It will help keep it from getting all gunky. So I’ve waited about 30 seconds or so that I’m impatient here. So I’m just going to put this piece back on. Once I think that it has a once it incorrectly. Wipe a little bit of extra glue off.
Gluing all the pieces
Okay, so that’s all set now, and I’ll let that dry for the instructions say a couple of hours, but I think it cures within 24. So this little piece will be just like new. But don’t forget the type of surface. Have a nice day.
How to glue broken ceramics
Hi, I’m William, and today I’m going to show you how to glue broken ceramics with adhesive.
What will you need
- A two-part epoxy adhesive.
- An old piece of perspex.
- Some sandpaper.
- Duct tape.
- A scraper
So I’m mending today a broken bread. Then it’ll be a reasonably good surface for the thesis to bond. So hopefully, it’ll give you a good demonstration of what this glue is capable of. Why use a glue two-component epoxy? Even though there are glues like super glue available that are designed to fix ceramic. I feel that two-component epoxy resin glues like this are still the most comprehensive way to fix ceramics.
Clean the broken areas with sandpaper
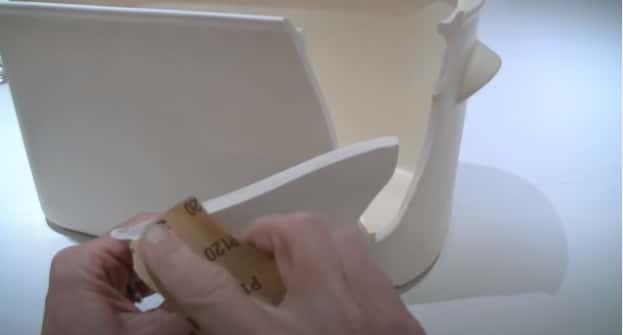
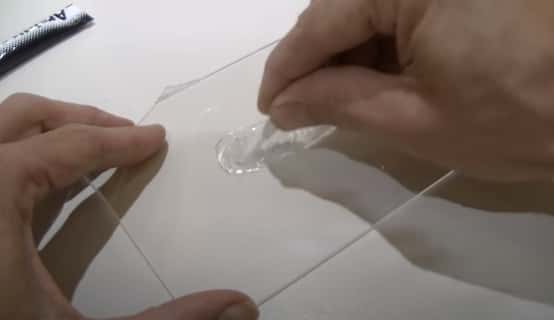
I’m just going to very lightly brush the areas that I need to glue with some sandpaper. To slightly rough up the edges and clean off any residual dirt. Now you have to dispense equal amounts from both tubes. So the way I do this is to squeeze lines of adhesive. Because that way you can more or less, get the lines working the same length and the same way.
Mix the two-part adhesive
Now using the spatula that comes with it, I’m going to mix it, which you need to do for about 30 seconds or at any rate until you’re satisfied that you’ve thoroughly mixed the two parts of the adhesive.
Apply glue on the broken area
Once you’ve done this, you’ve got about five minutes to apply the adhesive to the joints that need to be repaired for putting them together. Okay, I’m pretty confident that that’s where I’m mixed. Okay, I’m not going to start putting the adhesive onto the joint, you want to apply a reasonable amount, and you’re meant to do it on both sides of the joint.
Join the broken ceramic pieces
You apply the decent to thickly you’ve got a lot squeezing out when you put the two joints together. Put enough adhesive on. If you put less adhesive on, then you won’t get a decent bond between the surfaces. You shouldn’t worry too much about the days of coming out when you squeeze the two sides together because you can trim it off with a knife.
When it’s partially dry, I’m just going to apply some of these tips. Also, to the other part that I’m joining in making sure we get a good bond. Okay, so that’s that done left. Now I’m going to calculate position two parts in place and press them together. I have got a little bit of glue coming out of the joint, as you can probably see.
Dry the glue finish with a scraper
Trim it away in a few minutes. Okay, I applied the glue about 10 minutes ago, and it’s just starting to go off. So now’s a good time to trim off the excess. I’ve got my scraper here. You’ll see it comes off easily. I am leaving a friendly, neat join. Always keep your hands behind the blade when you’re working with a sharp knife or scraper.
Conclusion
So that’s it. The job is now done. Once again, I’ve got a Fully operable breadboard. So I hope you found this content. Practical details of all the tools I’ve used on the content are available at the end if you like what you’ve seen today.
